
Learn How to Apply Makeup the Right Way: A Step-by-Step Beginner’s Guide
Makeup can be a powerful tool—not only for enhancing your natural beauty but also for boosting your confidence and expressing your personality. But if you're just starting out, the world of beauty products and techniques can feel overwhelming. This guide breaks down how to apply makeup the right way, step by step, to help you build a routine that’s simple, effective, and tailored to you.
Step 1: Start with a Clean, Moisturized Face
Great makeup begins with healthy skin. Always cleanse your face before applying makeup to remove oil and dirt. Follow with a lightweight moisturizer suitable for your skin type. If you’re going out during the day, use a moisturizer with SPF to protect your skin from sun damage.
Pro Tip: Let your moisturizer absorb fully before applying any makeup to avoid pilling or patchiness.
Step 2: Primer is Your Best Friend
Primer smooths out your skin’s surface, helps makeup last longer, and can even control shine or hydrate depending on the formula.
-
For oily skin, go with a mattifying primer.
-
For dry skin, choose a hydrating or dewy primer.
-
For enlarged pores, use a pore-filling formula on your T-zone.
Apply primer with your fingers, concentrating on areas where makeup tends to fade.
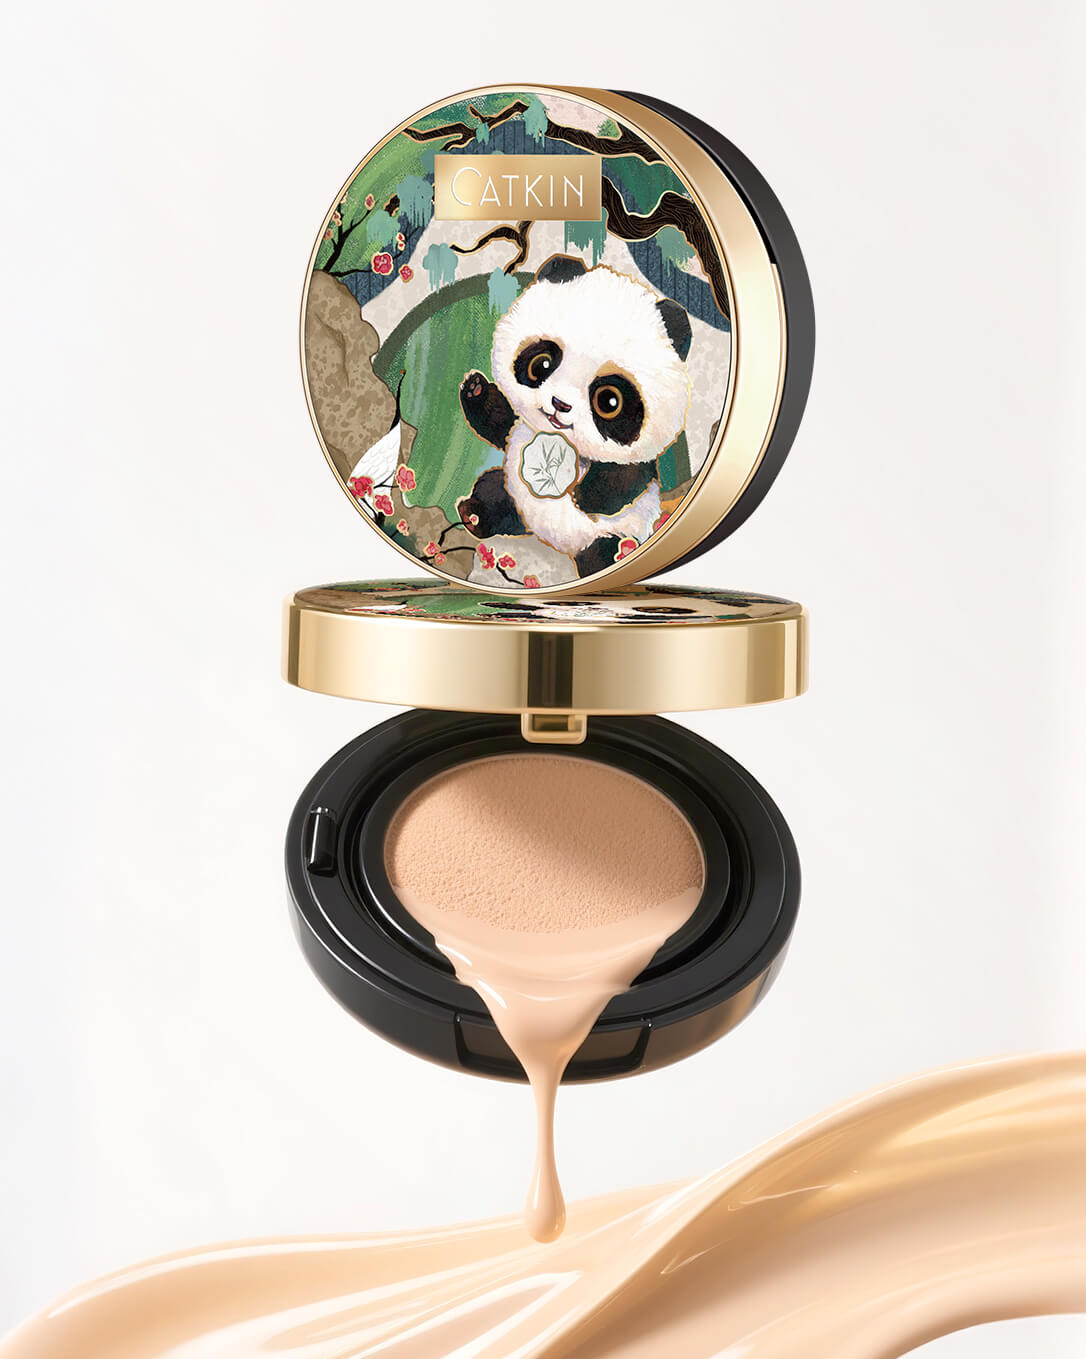
Step 3: Foundation or Tinted Base
Choose a product that suits your needs—foundation, BB cream, or tinted moisturizer. Apply a small amount and blend outward from the center of your face using a sponge, brush, or clean fingers.
Application tips:
-
Don’t forget your jawline and neck for an even tone.
-
Less is more—build coverage only where needed.
Step 4: Conceal Strategically
Use concealer to hide dark circles, blemishes, or redness.
-
Choose a shade close to your foundation for blemishes.
-
Use a slightly lighter shade for brightening under the eyes.
Dab the concealer and gently blend with a fingertip or brush. Avoid rubbing, as it can move the product around instead of covering imperfections.
Step 5: Set Your Base (Optional)
If you have oily skin or need long-lasting wear, set your foundation and concealer with powder.
-
Use a translucent powder for a natural look.
-
Focus on the T-zone (forehead, nose, chin) where oil tends to accumulate.
For dry skin, you can skip this step or just use a tiny bit to keep everything in place.
Step 6: Define Your Brows
Well-groomed brows frame your face and make a big difference.
-
Use a brow pencil, powder, or tinted gel to fill in sparse areas.
-
Follow the natural shape of your brows and use short, hair-like strokes.
Finish by brushing through with a spoolie to blend the product and soften any harsh lines.
Step 7: Eyeshadow Basics
Stick to a neutral palette when starting out—think browns, taupes, and golds.
Simple technique:
-
Apply a light shade all over your lid.
-
Blend a medium shade into the crease for depth.
-
Use a shimmer or highlight in the inner corners for a brightening effect.
Always blend well to avoid harsh lines.
Step 8: Eyeliner for Definition
Eyeliner defines your eyes and can make your lashes look fuller.
-
Use a pencil or gel for a softer line.
-
A liquid liner gives a sharp, precise look.
Start close to the lash line and work your way out. For beginners, it’s easier to keep the line thin and build up gradually.
Step 9: Mascara to Open Up Your Eyes
Apply mascara to your upper and lower lashes to make your eyes look more awake and defined.
Tips for application:
-
Wiggle the brush at the base of the lashes to add volume.
-
Use a waterproof formula for long days or humid conditions.
Step 10: Add Color to Your Cheeks
Blush brings life to your complexion. Cream blush is great for beginners—it blends easily and gives a natural flush.
-
Smile and apply to the apples of your cheeks.
-
Blend upward toward the temples for a lifted effect.
Step 11: Highlight and Contour (Optional)
If you want more dimension:
-
Use a highlighter on the tops of cheekbones, brow bones, and the bridge of the nose.
-
Apply a contour or bronzer under cheekbones, along the jawline, and at the temples.
Use light layers and blend well to avoid harsh lines.
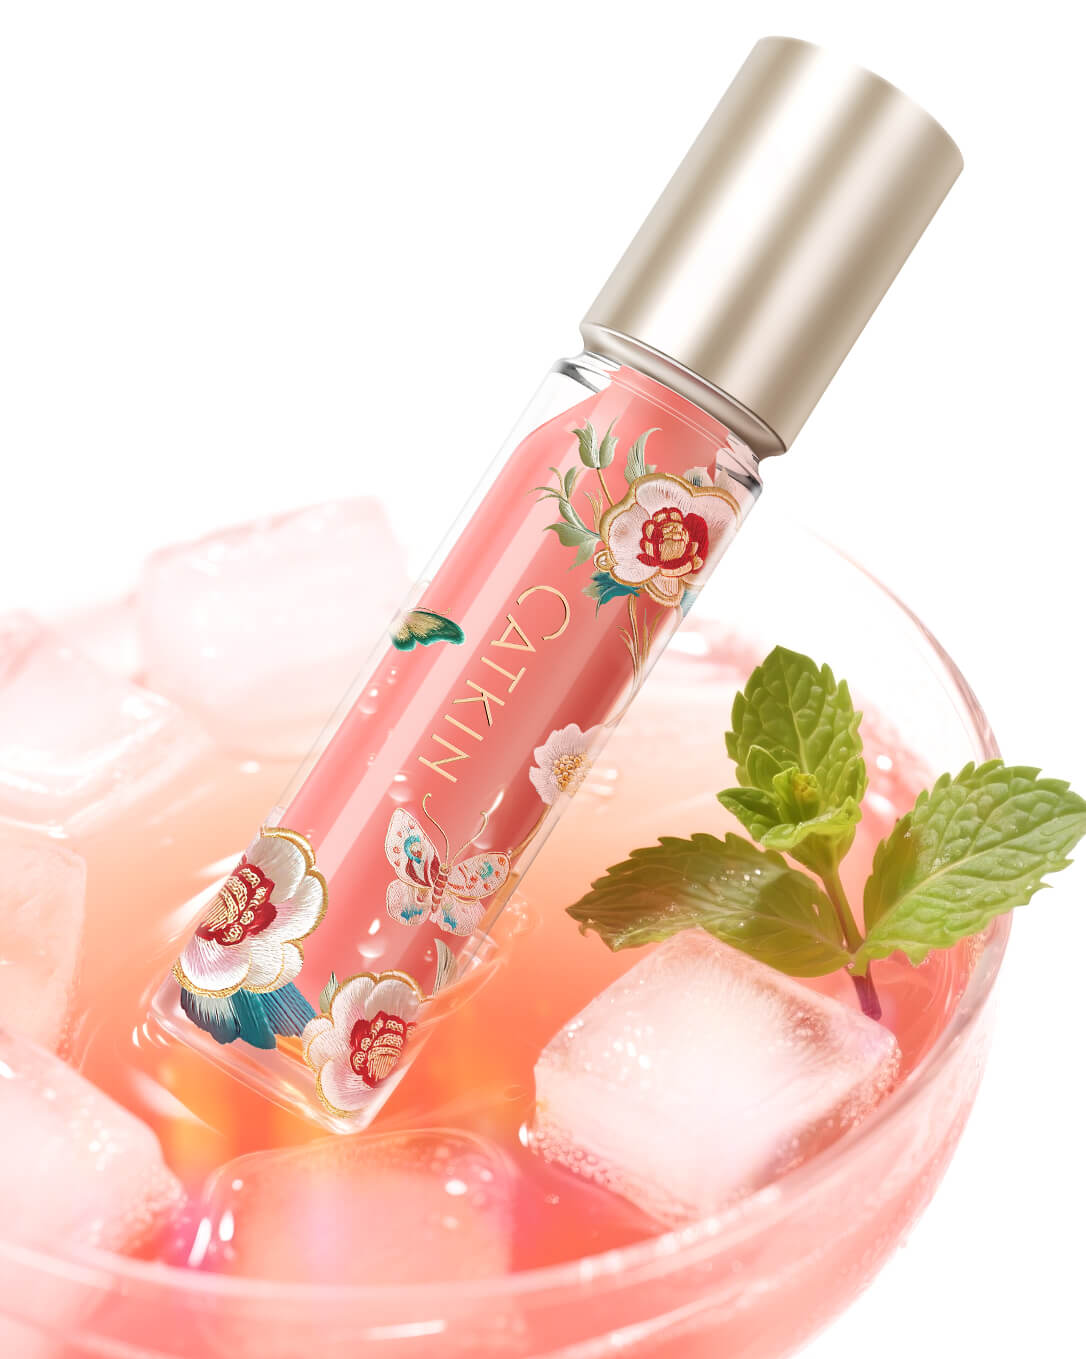
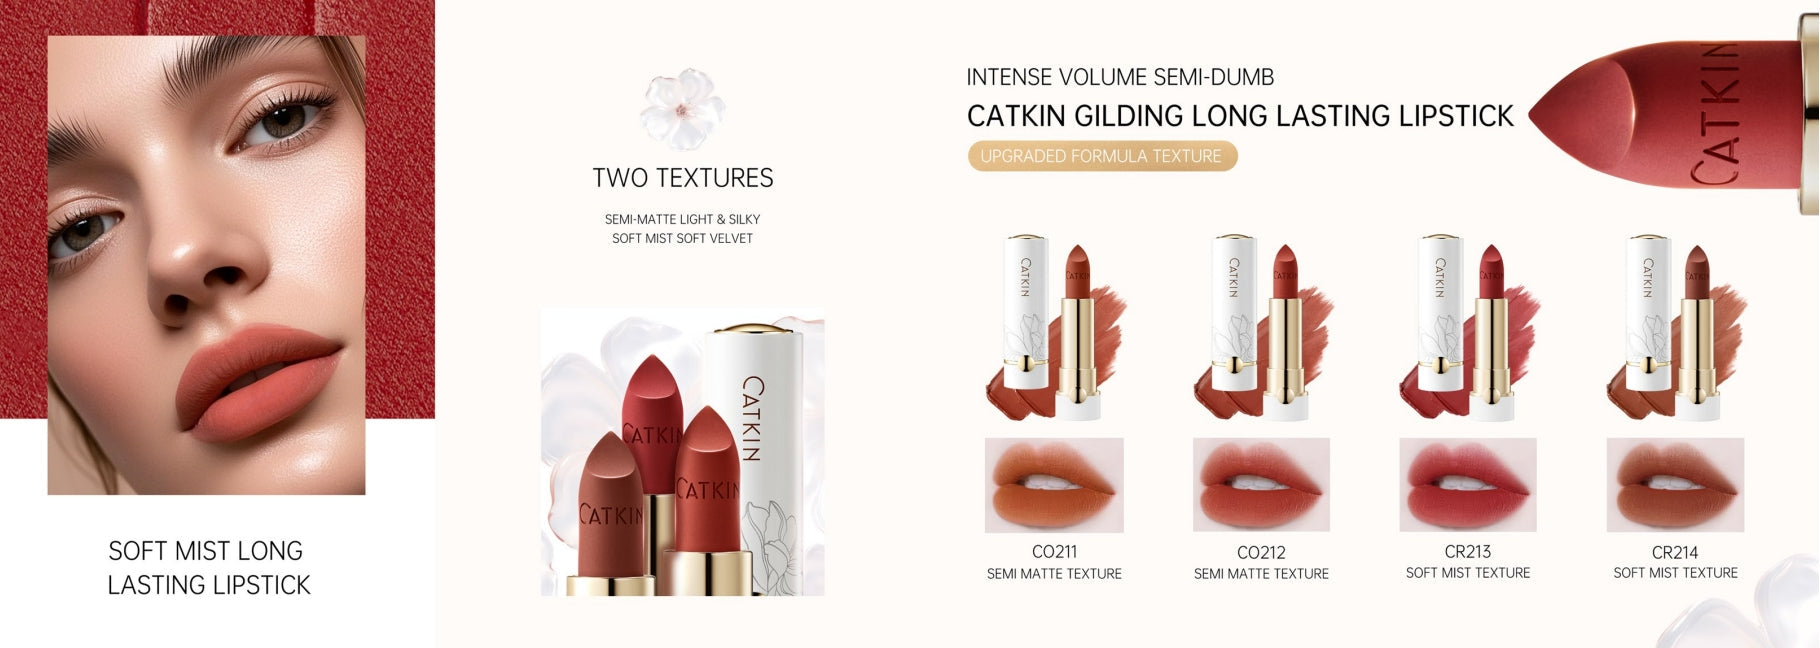
Step 12: Lips to Finish
Pick a lip product that suits your mood and occasion.
-
Tinted lip balm for a casual, hydrated look.
-
Lipstick or gloss for a polished finish.
Pro Tip: Line your lips with a matching lip liner to define the shape and help your color last longer.
Final Touch: Set and Go
Finish your routine with a setting spray to lock everything in place and give your skin a fresh, natural finish.
---------------------------------------------------------------------------------------------
Learning how to apply makeup the right way doesn’t mean following every trend—it means understanding what works for your skin, your lifestyle, and your personal style. Start simple, practice regularly, and have fun experimenting. With time, your makeup routine will become second nature, and your confidence will shine just as brightly as your highlight.
