
Статья: How to Cover Dark Circles Without Looking Cakey

How to Cover Dark Circles Without Looking Cakey
Dark circles can be one of the trickiest parts of doing your makeup. You add a little concealer, but the area still looks dark. You add more, and suddenly the under-eye area looks heavy, dry, or cakey.
If you've ever wondered how to cover dark circles without looking like you're wearing too much makeup, the answer usually isn't more concealer. It's about choosing the right amount of coverage, preparing the skin properly, and applying your products in the right places.
Whether your under-eye area looks bluish, brownish, dull, or simply a little tired, these simple techniques can help create a smoother and more natural-looking finish.
Start with Well-Hydrated Skin
Before reaching for concealer, take a moment to look at the skin underneath your eyes.
The under-eye area is naturally delicate, and when it is dry, makeup can settle into fine lines and make the area look more textured. This can make dark circles appear even more noticeable.
Apply a small amount of eye cream or moisturizer and gently tap it into the skin with your fingertip. Give it a little time to absorb before applying makeup.
The goal is not to leave the skin feeling greasy. You want the area to feel comfortable and smooth, with no excess product sitting on the surface.
If your eye area tends to become oily during the day, use less skincare and allow it to fully absorb before moving on to concealer.
Don't Cover the Entire Under-Eye Area
One of the most common concealer mistakes is applying a thick layer underneath the entire eye.
You may think that more product means more coverage, but it can actually make your makeup look heavier without doing much to improve the appearance of dark circles.
Instead, focus your concealer where the darkness is most visible.
For many people, that means concentrating product around the inner corner and the deeper area beneath the eye rather than covering the entire under-eye area. Use a small amount first, then gently blend outward.
This creates coverage where you need it while keeping the rest of the skin looking more natural.
Choose Coverage That Matches Your Needs
Not every dark circle requires full-coverage concealer.
If your dark circles are mild, a lightweight or medium-coverage formula may be enough. Using a very heavy concealer for a small amount of discoloration can make the area look more noticeable rather than less.
For more visible dark circles, build coverage gradually. Apply a thin layer, blend it, and then add a little more only where necessary.
CATKIN Concealer can be incorporated into this kind of targeted application. Instead of creating a thick layer across the entire under-eye area, use a small amount on the areas that need extra coverage and blend the edges into the surrounding skin.
This keeps the makeup looking more seamless.
Think About the Color of Your Dark Circles
Dark circles aren't all the same color, and this can affect how you approach them.
Some look blue or purple, while others appear brown, gray, or more generally dull. The surrounding skin tone also makes a difference.
Rather than automatically choosing the lightest concealer available, look for a shade that blends naturally with your complexion. A concealer that is dramatically lighter can sometimes make the under-eye area look gray or overly bright.
For everyday makeup, a natural-looking match is often more flattering than trying to completely erase the color difference.
If you use a color corrector, keep the layer very thin. Too much correcting color underneath concealer can contribute to the cakey appearance you're trying to avoid.
Apply Concealer After Your Base
The order of your makeup can also make a difference.
If you're wearing foundation or a BB cushion, apply your base first and then see how much coverage you actually need underneath your eyes.
You may find that your base has already softened some of the discoloration. This means you can use less concealer afterward.
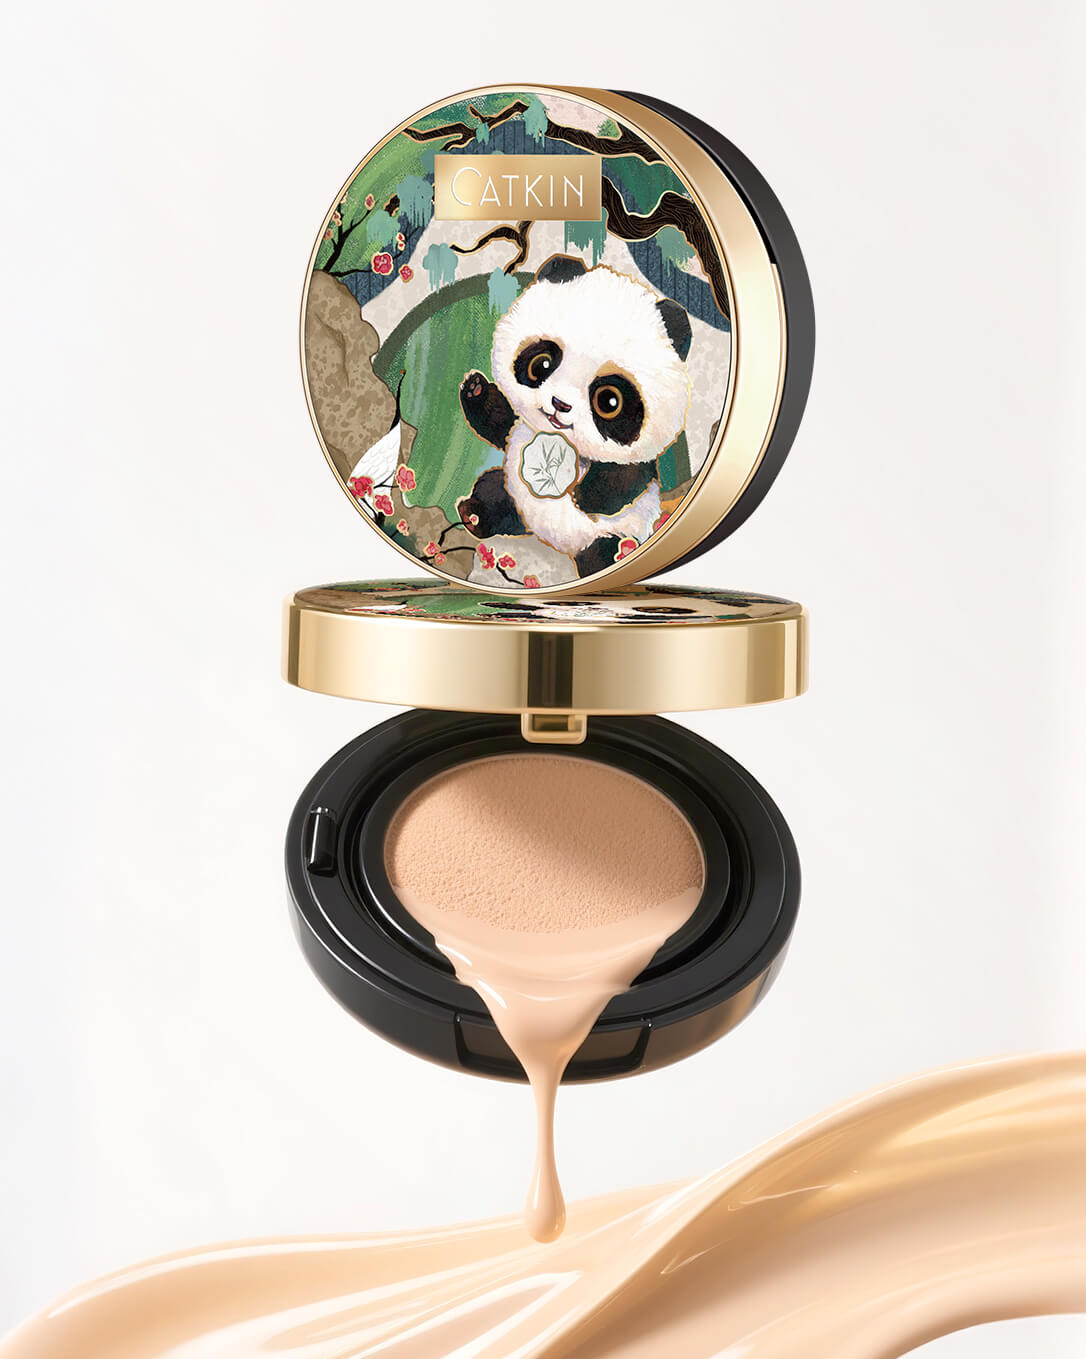
CATKIN Summer Palace Moisture Cover BB Cream Cushion Foundation can work as the complexion step before targeted concealer application. Its hydrating, semi-matte finish provides a smooth base while allowing you to add extra coverage only where necessary.
This approach is particularly useful if you prefer makeup that still looks like skin rather than a completely covered complexion.
Blend With a Light Touch
The way you blend concealer is just as important as the amount you apply.
Instead of rubbing the product back and forth, gently tap it into the skin using your fingertip, a small makeup sponge, or a concealer brush.
Start in the area where you need the most coverage and gradually soften the edges. You don't need to completely remove the product from the center of the dark circle—the goal is to blend the surrounding edges so the coverage looks seamless.
A tapping motion also helps prevent you from moving too much product around.
Set Only Where You Need To
Setting powder can help prevent concealer from moving, but using too much can quickly make the under-eye area look dry and cakey.
After blending your concealer, wait a moment and let it settle. Then use a small amount of loose setting powder only where you tend to crease.
You don't need to bake your entire under-eye area with a thick layer of powder.
A light application is usually enough for everyday makeup. If your skin is dry, you may even prefer setting only the inner corner or the areas where your concealer naturally creases.
CATKIN Poreless Loose Setting Powder can be used with a small brush or puff to lightly set the areas that need it most.
Don't Forget the Inner Corners
Sometimes the darkest part of the under-eye area isn't directly underneath the eye—it's the inner corner.
This small area can make a surprisingly big difference to the overall appearance of tired-looking eyes.
After applying your main concealer, use whatever remains on your brush or sponge and gently press a little product into the inner corner. You can also brighten this area with a small amount of a suitable concealer shade.
Keep the application precise. Because the inner corner is small, it doesn't take much product to make a difference.
Keep the Rest of Your Makeup Balanced
When you're trying to make dark circles less noticeable, it's easy to focus entirely on the under-eye area.
But the overall balance of your makeup matters too.
Softly defined brows, a little mascara, and a touch of blush can bring more life to the face and make the eyes look brighter without relying on heavy concealer.
You can also keep the eye makeup relatively simple. A soft neutral eyeshadow and a clean lash line can create definition without adding too much visual weight around the eyes.
The goal isn't to completely hide every sign of natural skin texture. Good under-eye makeup should make you look more refreshed while still allowing your skin to look like skin.
Less Concealer, Better Technique
Covering dark circles doesn't have to mean layering product until the area is completely opaque.
Start with hydrated skin, apply your base first, target the areas where darkness is most visible, and build coverage gradually. Blend gently and use only enough powder to keep the makeup in place.
Most importantly, don't judge your concealer by how much darkness it covers when you're standing inches from the mirror. Step back and look at your whole face. A little natural color or texture under the eyes is often much less noticeable than a thick, dry layer of makeup.
With the right preparation and a lighter hand, you can soften the appearance of dark circles while keeping your makeup fresh, comfortable, and natural-looking throughout the day.